Can you believe Thanksgiving is next week? Wow - that snuck up on me! When we put away our Halloween decorations two weeks ago my house felt so bare. It's a bit early to pull out the Christmas decor, and I have absolutely NO Thanksgiving decorations. So I grabbed some burlap (yes! We have burlap!) and some fall-ish fabrics and put together this Thanksgiving banner. It's a quick project - really! And I
love the look of the burlap.
Burlap Thanksgiving Banner Tutorial
by Andy Knowlton
Supplies Needed:
- Burlap (if it is 40" wide, you will need 1/2 yard)
- several 1/8 yard cuts of your favorite fall prints**
- Heat n' Bond lite (or similar fusible web product)
- twine or string for hanging
- printed letter template (download and print here)
**the fabrics I used for the banner pictured are:
Red: red daisy from "Delighted" (Riley Blake)
Orange #1: orange circles from "Decadence" (Riley Blake)
Orange #2: orange daisy from "Country Harvest" (Riley Blake)
Green: green circles from "Decadence" (Riley Blake)
Brown: good swirls brown from "Good Life" (Riley Blake)
Yellow: yellow herringbone from "Apple of My Eye" (Riley Blake)
Other supplies to gather:
- thread
- pencil
- scissors - nice and sharp!
- iron
- rotary cutter and mat
Steps:
1. From the burlap, cut 10 rectangles that measure 6" x 9". note: the burlap is trickier to manage than fabric is. I first cut my burlap into rough rectangles and then trimmed each one individually down to 6" x 9".
2. On one of the 6" ends of each rectangle, fold in half and crease about 1.5" in. Lay on cutting mat along the guide lines (the printed lines on your mat). Place your ruler at the top left corner and at the 1.5" mark along the folded edge of the rectangle. Cut along that edge, using your ruler as a guide.
Unfold. Repeat for all rectangles.
3. On each burlap rectangle, fold down 1" along the top edge. Press with iron.
4. Sew the folded flap down by stitching in a straight line about 3/4" down from the folded edge.
5. Next you'll need the
printed letter template (3 pages) and the Heat n' Bond lite (or similar fusible web). Place the fusible web over the template and carefully trace each letter onto the paper side. Cut out letters using scissors. At this step the letters do not need to be cut out perfectly - leave some space around each letter.
6. Decide which fabric you would like to use for each letter. Following the manufacturer's instructions, fuse each letter to the WRONG side of the fabric. Using sharp scissors, carefully cut out letters - this time cut right on the lines. Remove the paper backing from each letter.
7. Lay out the burlap pieces and arrange the letters. Once you like the placement, carefully move them to the ironing board - you can use a pin or two to keep them in place.
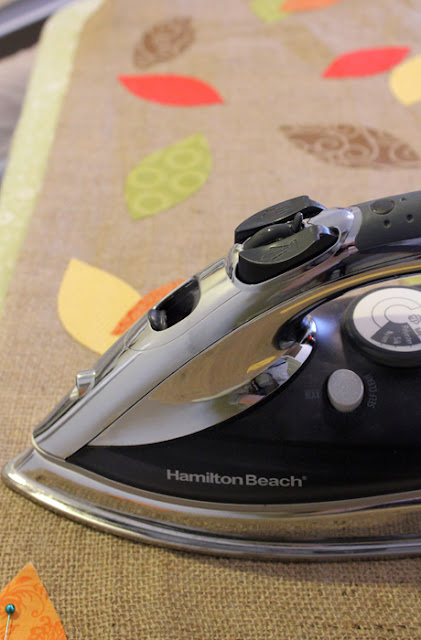
8. Following the manufacturer's instructions, press each letter in place. If you are using an open weave burlap, you may want to place a piece of paper behind the burlap to protect your ironing board cover from any adhesive residue.
9. Top stitch each letter in place. I used a brown thread and a straight stitch.
10. Thread the twine through each burlap piece. (To help with this I tied one end of the twine to a large safety pin. The pin slid right through!)
Your banner is ready to hang! As I said above, the Fabric Mill does carry burlap, as well as all Heat n' Bond and all of the fall colored fabrics you need!


