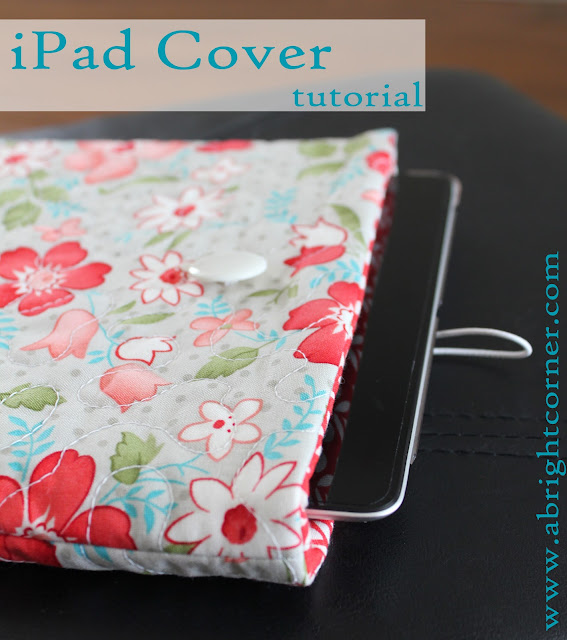
This particular cover is what I would consider a comfortable size. This is not a tight-fitting cover. I wanted it to be easy for my kiddos to use this. I can grab it on the way out the door and quickly slide the ipad in without a struggle. The elastic closure and button ensure that the iPad is snug inside and well protected. If you would like this to be a tight fit, increase your seam allowance to 1/2".
iPad Cover Tutorial
by
Andy Knowlton
Materials Needed:
2 Coordinating Fat Quarters
button
6" or so of thin elastic
thin batting
Cutting Instructions:
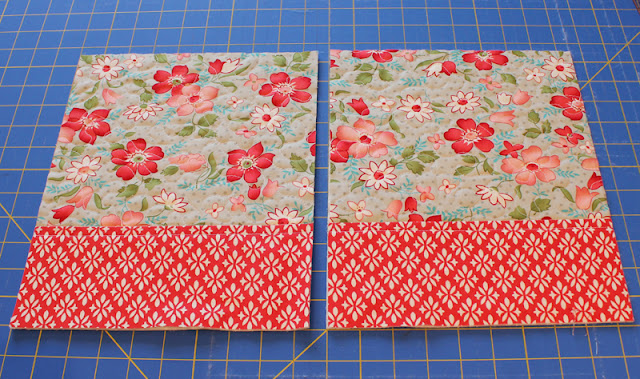
- From one of the fat quarters (this is for the cover lining/inside) cut 2 pieces that are 9.5" x 11.5" and then two pieces that are 4" x 10" (this is for the pieced outer cover)
- From the second fat quarter cut two pieces that are 9" x 10" (This is also for the pieced outer cover).
- Batting: Cut two pieces that are 9.5" x 11.5" and two that are at least 10" x 12"
Step 1:
We will first make the outer cover. Sew each of the 4" x 10" pieces to the 9" x 10" pieces. Press.
Step 2:
Place the outer cover pieces over the batting pieces that are 10" x 12." Baste using a few basting pins or using a bit of basting spray.
Quilt as desired, then trim both pieces to be 9.5" x 11.5"
Step 3:
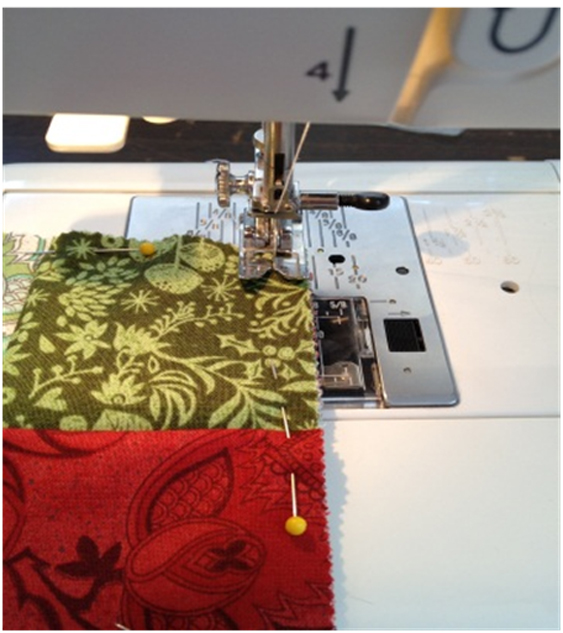
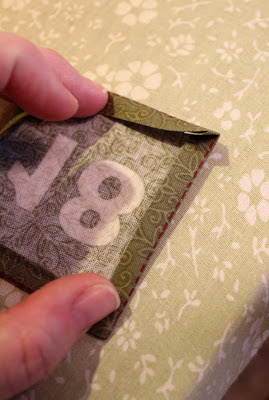
Place the two outer cover pieces together (right sides together) and pin. Be sure to line up those seam lines (see photo below). When you get the cover finished it will be obvious if these seam lines are not matched up. Sew the two outer cover pieces together (using a 1/4" seam) along the sides and bottom, pivoting at the two bottom corners. Leave the top open. Clip the corners to reduce bulk.
Turn outer cover right-side-out. Gently push out the corners (I use the tips of a blunt-edge pair of scissors. A car key would work as well.)
Step 4:
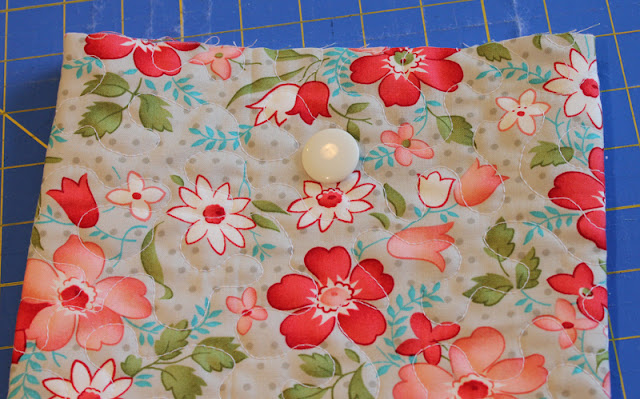
Sew on your button in the center of one side and about 2" down from the top edge.
Step 5:
Now we are going to work on the lining. Layer a piece of batting, then one of the lining pieces (right side up), then another lining piece (right side down), and then the final batting piece. The two lining pieces should be right-sides-together with the batting pieces on the outsides. Pin together around all edges.
This next step is optional - but I find it helpful! At the bottom edge of the batting, cut a notch out that is about 5" long and about 1/4" high. Trim JUST the batting - not the lining fabric. Repeat for both pieces of batting. (Cutting this notch will help reduce bulkiness when you are stitching the opening closed.)
Sew 1/4" seam along the sides and bottom of the lining/batting sandwich, stopping at the notched section of batting (or at about 2" in from each side.) Leave the notched section unsewn - this is where you will turn the cover right-side-out. Leave the top open as well. Clip the corners to reduce bulk.
Step 6:
Place the outer cover (right side out) inside the lining so that the two (inner and outer cover) are right sides together.
Match side seams and pin in place all along top edge.
Measure the amount of elastic you will need (this depends on the placement and size of your button). Place the piece of elastic loop-side-in, between the lining and outer cover on the opposite side of where the button is. Pin elastic in place.
Step 7:
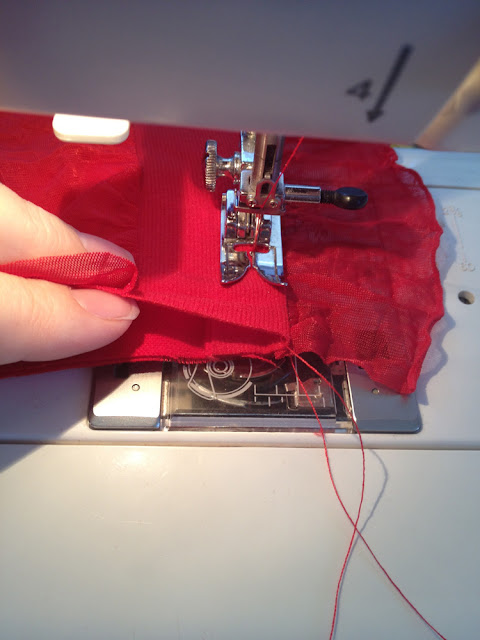
Sew (using 1/4" seam) around the top edge of the cover, catching the ends of the elastic. After you have sewn around the whole top edge, trim the ends of your elastic. Mine were obviously WAY too long.
Step 8:
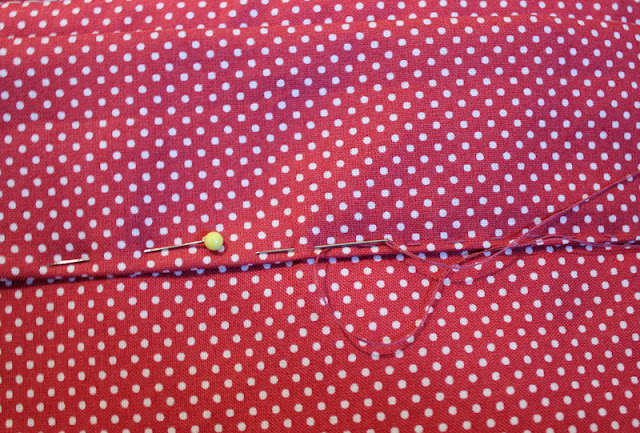
Through the opening in the bottom of the lining (remember that notched section of batting?) turn the cover right-side-out. Find the bottom edge of the lining that is unsewn. Fold the raw edges in about 1/4" and stitch the opening closed. This is where the notched batting helps reduce bulk and make this stitching easier.
Step 9:
Push the liner inside of the outer case. Reach in and push the corners in and smooth the liner so that it lays flat inside of the cover. I like to press the edge of the top opening to help it to lay flat as well.
And there you have it-- a personalized iPad case to take with you everywhere you go! I love mine so much, but the guys in my family had a problem with the flowers. So I made a more masculine version to appease them.

